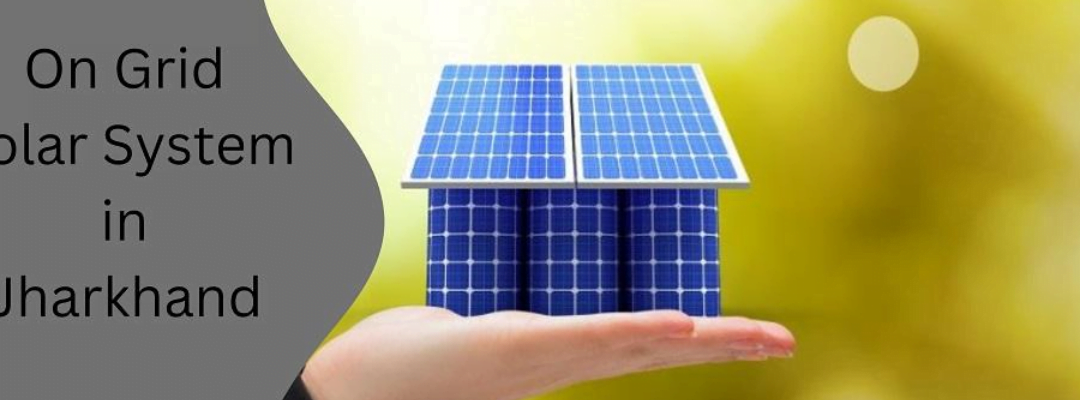
Overview of Solar Panel Subsidy in Jharkhand
The Jharkhand government has introduced an attractive solar panel subsidy to encourage residential homeowners to adopt renewable energy. The subsidy scheme offers up to 40% financial assistance for installing on-grid solar systems (up to 3 kW capacity). However, due to administrative processes, many applicants face challenges in availing of these benefits.
To implement the scheme, the Jharkhand Renewable Energy Development Agency (JREDA) works through approved vendors. This ensures that solar panel in Jharkhand installations meet quality standards and government compliance.
Eligibility for Solar Subsidy in Jharkhand
- Homeowners are eligible for the subsidy.
- Tenants can apply with permission from their landlord.
- The system must be installed through an empaneled vendor approved by JREDA.
- The applicant must follow the standardized procedures set by the government.
Key Components of a Solar System
1. Solar Panels
Solar panels are the heart of a solar system, converting sunlight into electricity. There are different types available:
- Monocrystalline Panels (high efficiency, longer lifespan)
- Polycrystalline Panels (cost-effective, moderate efficiency)
- Bifacial Solar Panels (capture sunlight from both sides, optimal for rooftop installations)
2. Solar Inverter
Since solar panels generate DC power, a solar inverter is required to convert DC into AC, making it usable for household appliances. Common inverter sizes range from 3 kW to 10 kW.
3. Solar Battery (Optional)
Batteries store excess power for use during nighttime or cloudy days. While on-grid systems do not require batteries, they can be useful in areas with frequent power cuts.
4. Mounting Structure & Wiring
A strong mounting structure ensures optimal placement of the panels for maximum sunlight exposure, while high-quality wiring ensures efficiency and safety.
5. Charge Controller (If Using Batteries)
This device regulates power flow to prevent overcharging and extend battery life.
How to Apply for Net Metering in Jharkhand
Net metering is crucial for homeowners to sell surplus electricity to the DISCOM, reducing their electricity bills. Here’s the step-by-step process:
- Visit the JREDA Website – Apply for a net meter through the official portal.
- Fill Out the Application Form – Provide details about your solar system.
- Submit the Form – Upload necessary documents.
- Await Approval – DISCOM will review and approve your request.
- Installation & Inspection – After approval, install the system and request a DISCOM inspection.
- Activation & Benefits – Once installed, start earning from surplus electricity.
Types of Rooftop Solar Systems
1. On-Grid Solar System
- Connected to the electricity grid.
- Reduces electricity bills by up to 80%.
- Allows homeowners to sell excess power back to DISCOM.
- Most recommended for urban households.
2. Off-Grid Solar System
- Ideal for remote areas with unreliable electricity.
- Uses batteries to store energy for nighttime or power outages.
- Does not allow selling surplus power to the grid.
3. Hybrid Solar System
- Combines the features of both on-grid and off-grid systems.
- Includes battery backup for emergencies.
- Enables surplus energy sale to DISCOM.
- Recommended for households seeking energy independence.
Solar Panel Subsidy Schemes in Jharkhand
1. Central Government Subsidy (DBT Model)
- Direct Bank Transfer (DBT) – The subsidy amount is credited directly into the applicant’s bank account.
- Available through the National Solar Portal.
- Processing time: Within 30 days of system commissioning.
2. Jharkhand State Government Subsidy
- Provides an additional 50% discount on installation costs.
- Available only for homeowners (tenants need landlord approval).
- This subsidy is separate from the central subsidy.
Solar Panel Subsidy Pricing in Jharkhand
| Capacity | Central Subsidy | State Subsidy |
| 2 KW | ₹29,176 | ₹X (Varies) |
| 3 KW | ₹43,764 | ₹X (Varies) |
| 4 KW | ₹51,058 | ₹X (Varies) |
| 5 KW | ₹58,352 | ₹X (Varies) |
| 6 KW | ₹65,646 | ₹X (Varies) |
| 7 KW | ₹72,940 | ₹X (Varies) |
| 8 KW | ₹80,234 | ₹X (Varies) |
| 9 KW | ₹87,528 | ₹X (Varies) |
| 10 KW | ₹94,822 | ₹X (Varies) |
Step-by-Step Process to Apply for Solar Subsidy
Step 1: Schedule a Site Survey
Book an engineer visit through an approved vendor to assess the feasibility.
Step 2: Finalize the System & Costs
Choose the right capacity and system type based on your power needs and budget.
Step 3: Purchase & Install the Solar System
Buy the system through an approved installer and complete the installation.
Step 4: Apply for Net Metering
Submit the required documents to JREDA and DISCOM for net meter approval.
Step 5: Receive Subsidy in 30 Days
Once installation and inspection are completed, the subsidy amount is transferred within 30 days.
Why Choose Solar Energy in Jharkhand?
- Reduce Electricity Bills – Solar power can cut bills by up to 80%.
- Earn Money from Excess Power – Sell surplus electricity to the grid.
- Environmentally Friendly – Contributes to a cleaner and greener future.
- Government Backed Financial Support – Avail attractive subsidies and incentives.